

Buy ProductsDistributors     |
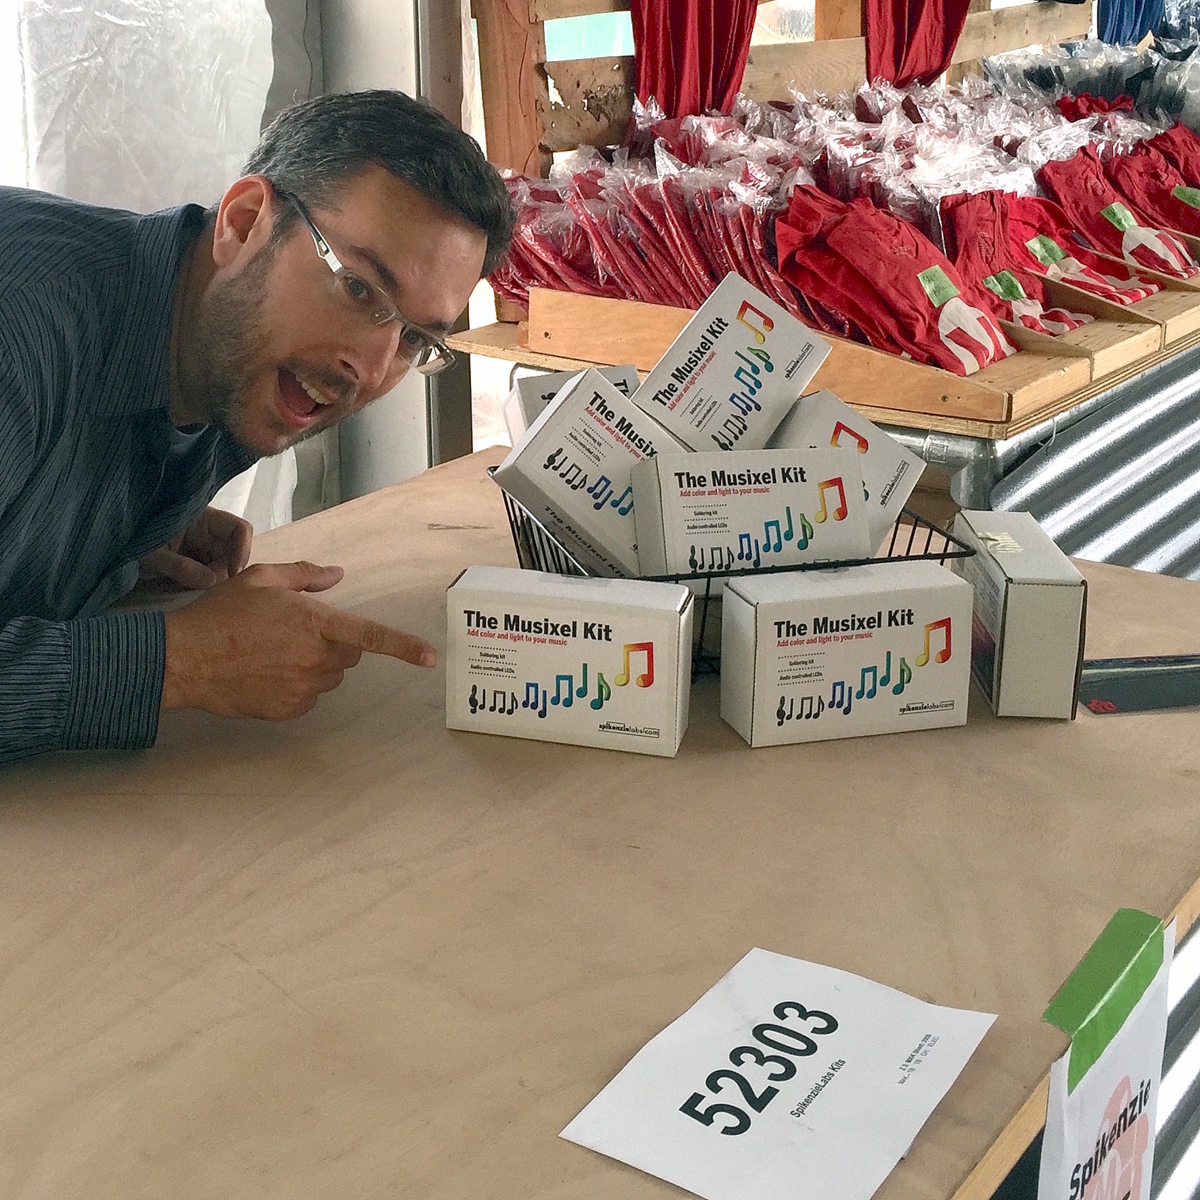
Super-sized Musixel WallAt the World Maker Faire in New York City this year, we were able to show off the RGB Shades in the Maker Shed for the first time ever! It was a lot of fun, and we were positioned right next to our friends at Spikenzie Labs. They brought some new products, including the Musixel (an audio sensor that controls a strip of addressable LEDs). Here's a quick demo video of what the Musixel kit can do: It's a small PCB with an audio input jack, an 8-pin PIC microcontroller, an MSGEQ7 seven-band spectrum analyzer chip, and various passive components. The PIC reads analog values corresponding to several frequency bands from the audio jack, and outputs WS2811-compatible commands. Spikenzie Labs includes a strip of 16 WS2812 LEDs, but it will work with up to 64 WS2812 LEDs arranged in an 8x8 matrix. We've played with the MSGEQ7 chip a few times and had some great results. In addition to a few undocumented wearable projects, here are a couple fun examples: So we ended up with a Musixel Kit after Maker Faire, flew all the way back to Washington, and immediately put the kit together. It's impossible to have too much blinky stuff, and the Musixel kit definitely qualifies. But after playing with it for a bit, we realized that we could take the Musixel to the next level. In our boxes of past semi-products was a neat little module called the StripDriver. It was initially made for a large scale art project. It has some high-current connectors, a WS2811 chip, and some high current transistors. Connect a strip of RGB LEDs and you have a giant LED pixel controllable using the WS2811 protocol. The same protocol that the Musixel uses...so now we knew what we had to do. A giant empty wall in our warehouse was about to get a lot more blinky.
We cut some RGB strips to 2.5 meters and mounted them directly to the wall. Probably not the best idea, as we received the warehouse with bare drywall and the strip adhesive really likes to peel off some paper. But that's a problem we'll fix someday. For now, the wall of LEDs is way more fun to think about. After lots of ladder climbing, the strips were finally in place and the StripDriver modules attached.
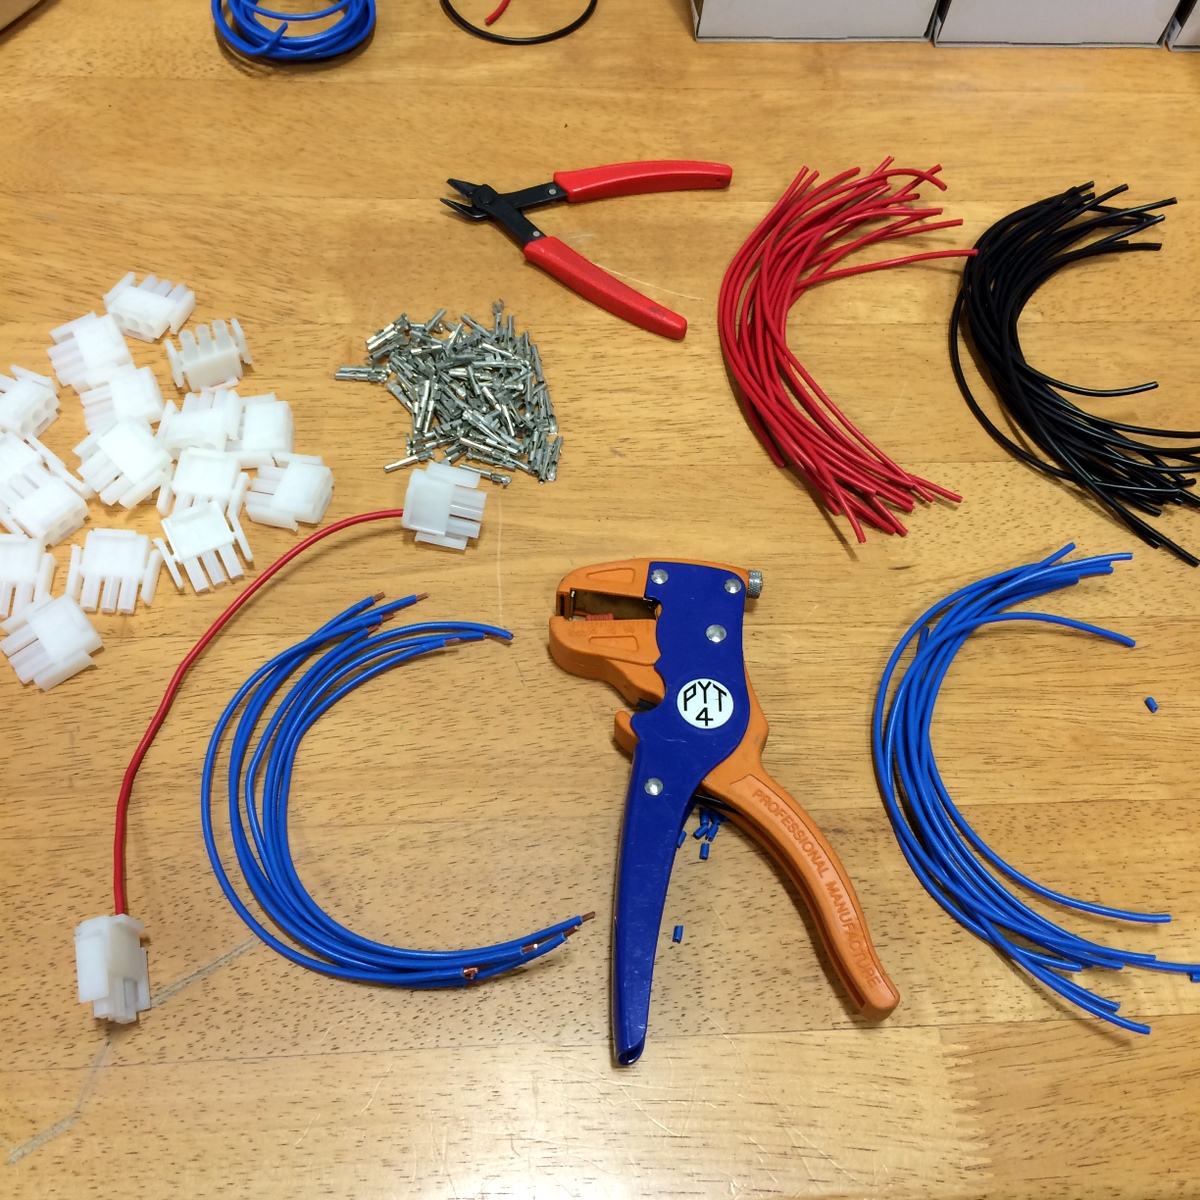
The StripDrivers use large connectors and have wide, doubled-up power traces so that the full array power can pass through the first few modules. This simplifies wiring a bit, removing the need for too many mid-string power taps. For 16 strips, we didn't need to add any extra power taps. We did need to make some custom power and communication cables. After measuring and cutting all the necessary wires, we stripped the ends to prepare for crimping the connectors. This automatic stripper made the job much easier.
The connectors AMPT/TE MATE-N-LOK style with separate crimped terminals. As with most crimp terminals, there is a professional tool available...pricing starts around $300 on up. We have a $20 tool that works almost as well! The best way to operate the tool is to clamp the terminal in the tool, insert the wire, and then squeeze all the way down on the handles.
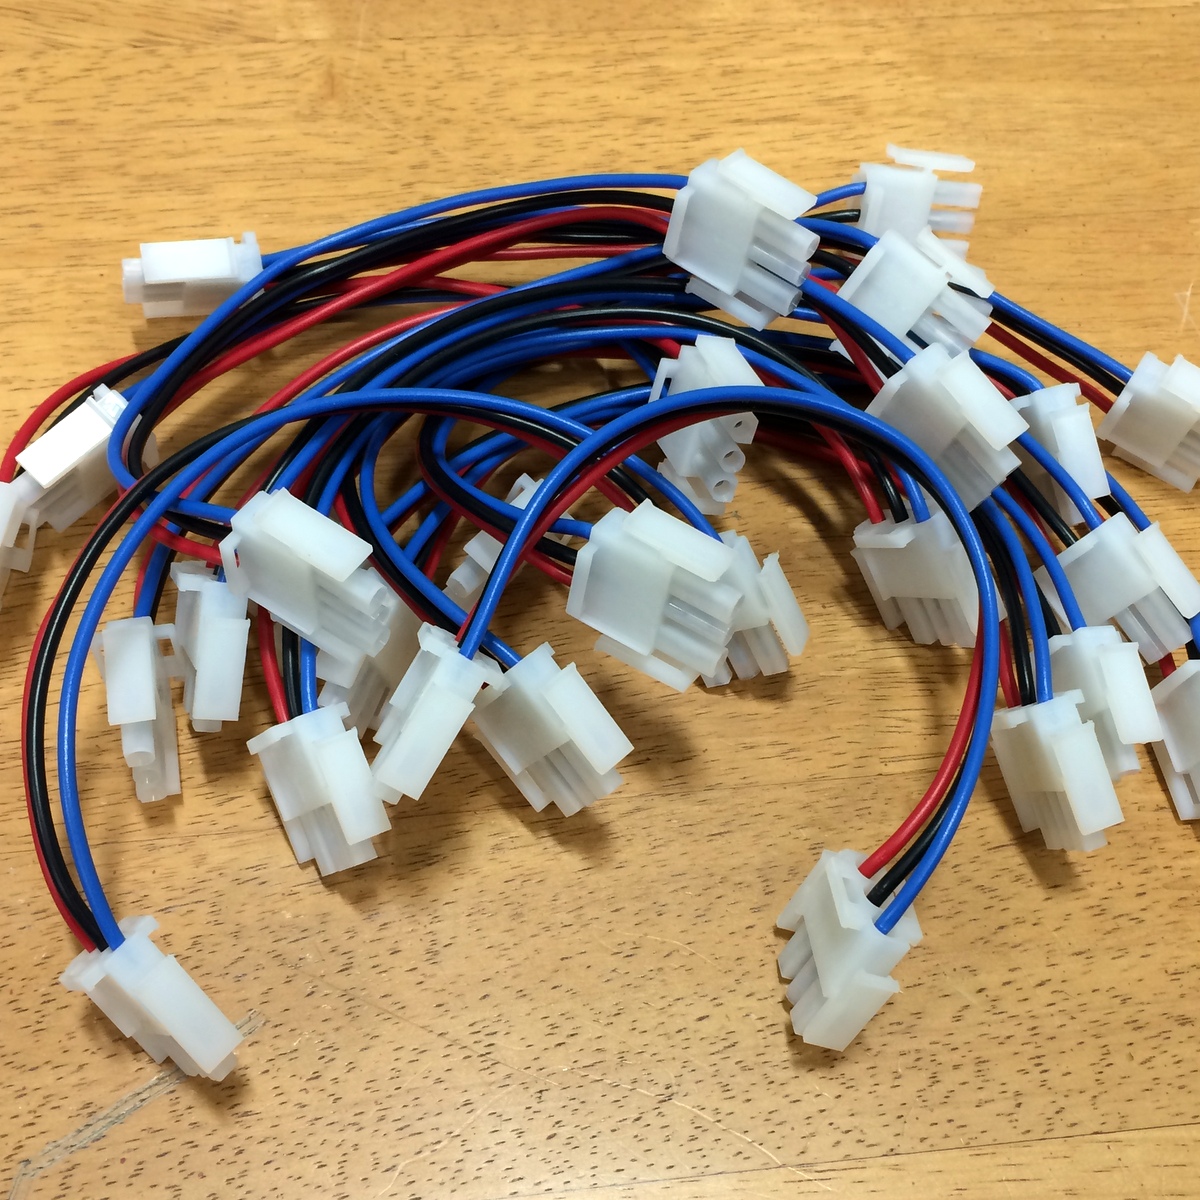
With all the cables crimped and ready, all 16 stripdrivers were wired up in a chain that, as far as the Musixel knows, is exactly the same as the little 16-pixel strip that came with the kit. Just way, way bigger!
With the StripDrivers wired up to a 12V/30A power supply and the Musixel, it's time to light this sucker up! We've added Garrett for scale.
Since the Musixel responds to music, we had to make a quick video showing the final result. Enjoy! Keep an eye out for our next product, a small add-on board for the RGB Shades and LED Matrix Shades. It also uses an MSGEQ7 chip and is way more portable than our warehouse wall!
Submitted by Garrett on Sun, 11/08/2015 - 20:17. |
Cool Links 
|


Recent Comments
5 years 2 weeks ago
5 years 2 weeks ago
5 years 4 weeks ago
5 years 11 weeks ago
5 years 18 weeks ago
5 years 19 weeks ago
5 years 23 weeks ago
5 years 23 weeks ago
5 years 26 weeks ago
5 years 32 weeks ago